This article tells part of the story of Maxis Software. Maxis came into 1994 riding high on the wings of SimCity 2000, the hit of the previous holiday season. They followed up that success with… SimHealth: The National Health Care Simulation. This may sound like satire, but it was all too real. To be clear, SimHealth was […]
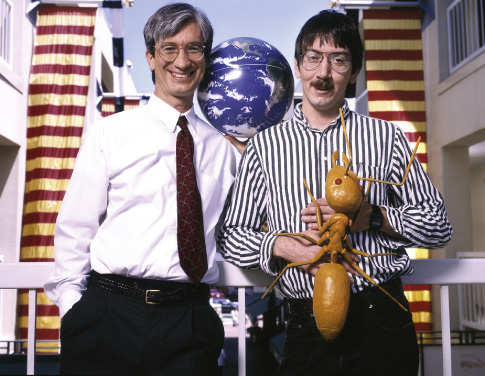
Would you trust these two men with your investment? Jeff Braun and Will Wright shortly before Maxis’s IPO.
Maxis came into 1994 riding high on the wings of SimCity 2000, the hit of the previous holiday season. They followed up that success with… SimHealth: The National Health Care Simulation. This may sound like satire, but it was all too real.
To be clear, SimHealth was not, say, a playful look at the life of a hospital, with eccentric doctors and bizarre made-up diseases. It wasn’t even an earnest simulation of performing surgery. No, this was exactly what it said on the tin, a simulation of healthcare in the most macro sense. It was, to put it another way, literally a simulation of government bureaucracy. If you were getting bored with saving fantasy worlds from evil wizards and fighting the Second World War over and over, said Maxis, you could buy this game and engage with some truly exciting dilemmas. “Who gets health insurance? What does it cover? Who pays for it? How do you control costs? How will your plan affect business, physicians, specialists, insurance companies, lawyers, medical research, and the average citizen?” Hours and hours of fun for the whole family, am I right? Um… am I right?
Ironically, this most defiantly esoteric Maxis game ever arose from the same set of circumstances that gave birth to the multi-million-selling SimCity 2000. The venture capitalists at Warburg Pincus Ventures, who had traded $10 million in cash for 30 percent of Maxis’s equity and a seat on its board in 1992, thought that the company could find a profitable sideline — or possibly even a mainline — in making simulations for Corporate America to use for internal training and planning. The sticking point was that neither Will Wright nor any of the other idealists around him had much interest in such things. Jeff Braun’s solution was to buy a little software house called Delta Logic, built around a couple of refugees from the wreckage of Digital Research, the firm that had made the most popular business-oriented personal-computer operating system in the world until Bill Gates and Microsoft came along. Since then, John Hiles, Greg Rossi, and their colleagues at Delta Logic had been tinkering with social simulations of various stripes. They were now to be rebranded Maxis Business Simulations, given a lot more money than they had ever had before, and set loose to realize the venture capitalists’ dreams. “There’s the potential for this new business to be bigger than the games business,” enthused Braun dutifully.
That didn’t happen, although a surprising number of projects came and went during the less than two years that Maxis Business Simulations was a going concern. There were a simulation of an oil refinery for Chevron, a simulation of the power grid for the Pacific Gas & Electric Company, a simulation of a telephone network for a communications consultancy, a simulation of pollution management for the Environmental Protection Agency, and a simulation of the closure of a military base (?) for the new Maxis subsidiary’s hometown of Monterey, California. With the exception of a prototype version of SimRefinery, none of the actual software that resulted from these initiatives has been preserved, to whatever extent it came to exist at all. Constant churn was a fact of life at Maxis Business Simulations. It seems safe to say that the idea of doing corporate or civic planning via interactive simulations was one of those that looked better on paper than it tended to turn out on the computer screen.
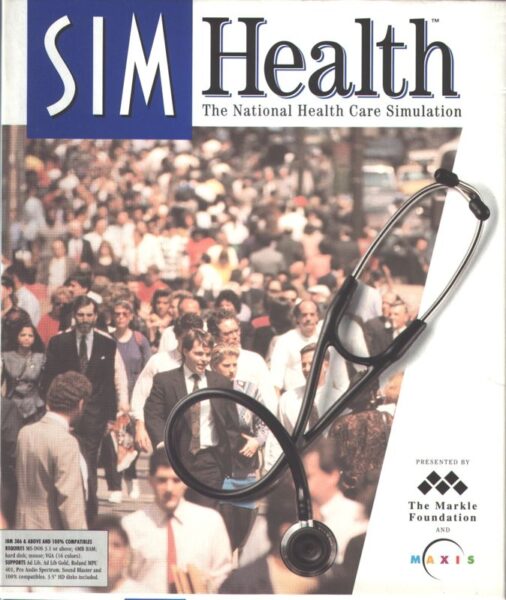
SimHealth‘s origin story isn’t that different from most of the other Maxis Business Simulations projects. It began when the Markle Foundation, a bedrock of old-school American philanthropy, requested a simulation to illuminate one of the hottest political debates of the 1990s, as it seems to be of every decade: what, if anything, to do about the uniquely strange and byzantine American healthcare system. President Bill Clinton, who in January of 1993 became the first Democrat to occupy the Oval Office in twelve years, made reforming healthcare on a more efficient, equitable basis the flagship issue of his first term. So far, so good. But then he decided to place the project under the stewardship of his unelected wife Hillary Clinton, who was already at this early date a lightning rod for Republicans and no small percentage of independents. It turned into an epic fiasco, burning up most of the president’s political capital without benefiting anyone and setting the stage for a brutal midterm shellacking at the hands of the Republicans. Indeed, many political scientists argue that the current, hyper-partisan era of American politics dates from those 1994 midterms, when Republicans under their future Speaker of the House Newt Gingrich first learned to characterize their Democratic opponents as not just misguided about means but evil in intent.
Is this the weirdest game ever to be reviewed in Computer Gaming World?
If this is the case, then SimHealth stands today as an oddly touching artifact of the Before Times, when there was still more than lip service paid to the notion of politics as a good-faith quest for the policies that yield the most good for the most people. In that spirit, the Markle Foundation decided to make SimHealth available to everyone as a boxed… well, I suppose the word “game” is the only one to use, considering that it was sold in the games section of those stores who were willing to sell it at all, and considering that it was given a two-page review by Computer Gaming World magazine, alongside the likes of Wing of Glory, Alone in the Dark 2, Carriers at War II, Ravenloft, and Aces of the Deep. (One of these things was not like the others…)
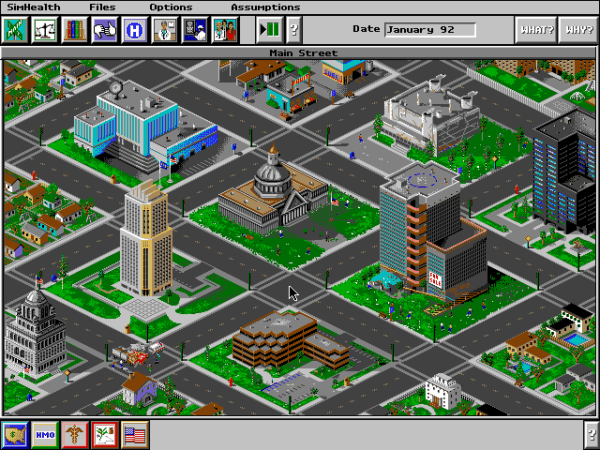
SimHealth even played like a game, albeit one with unusually sober — not to say boring — subject matter; in some ways, it was actually more of a game than Maxis’s earlier SimEarth or SimLife. You start out with your political party having just won an election, and have to try to maintain your mandate and with it your chosen approach to healthcare through the elections that follow. Everything about it is incongruous. Once it was decided to release SimHealth publicly, the main Maxis office pitched in with art drawn in the house style; inevitably, it brings to mind nothing so much as good old SimCity. All told, SimHealth stands today as one of the more bizarre games ever to be put in a box and sold. One doesn’t know whether to hail it for its chutzpah or laugh at it. Whatever else you can say about it, it certainly didn’t embrace the then-prevalent gaming mono-culture of sci-fi, fantasy, and war.
The discussion that sprang up around SimHealth was, to the extent it sprang up at all, dogged by the same fallacies that swirled around SimCity. For all that SimHealth presented itself as an early example of a “serious game” with something to say about the real world, there was no reason to believe that this purported “simulation,” created by a few harried programmers in well under a year, could possibly be modeling anything as complicated as a national healthcare system for one of the more populous and diffuse countries in the world with any sort of accuracy. Approaching it as a gamer would — because how else was he supposed to approach it? — Computer Gaming World’s Keith Schlesinger quickly found a winning strategy.
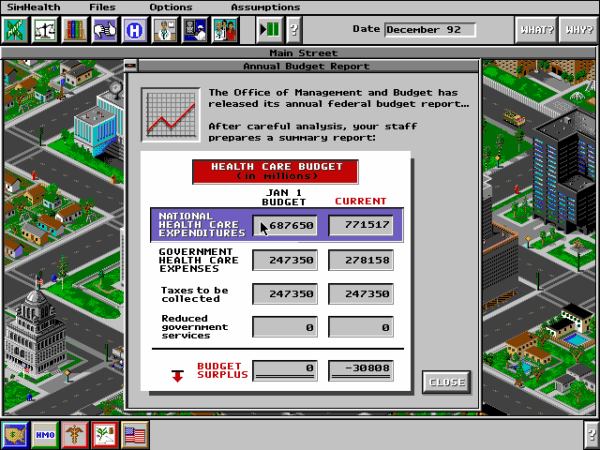
All you have to do is adopt an extreme libertarian ideology, eliminate all federal healthcare (including Medicare!), and cut other government services by $100-300 billion per year. The polls never sink below 57 percent favorable, and the behavior point total is almost a perfect 400. You can set the game to “Run to the End” and breeze to victory while hardly touching the mouse or keyboard. Institutions wax and wane, but the “invisible hand” of the free market keeps everything pretty much in line.
There is one catch: the entire private insurance industry goes bankrupt in the first three months of the game! That means no one has any protection even from catastrophic disease and injury. One wonders what people are doing about this. Why aren’t [they] rioting and burning down Main Street?
Once they’re through celebrating this endorsement of their views, even the extreme libertarians among us may, if they’re being honest with themselves, feel a twinge of concern at the pernicious idea that simulations like this one are somehow modeling abstract truths instead of being a morass of oversimplifications, biases, and highly questionable judgment calls on the part of their designers. I do suspect that the anecdote above arose by accident rather than out of any deliberate attempt to instill an ideological slant into the software. In fact, to their credit I suppose, the designers of SimHealth included an “Assumptions” menu which lets players tinker with the most fundamental rules of the simulation itself. But it does rather raise the question of what the point of it all is. What am I meant to learn from SimHealth if even the designers aren’t sure what the rules should be? The whole project was noble and well-meaning — and also kind of useless.
Unlike SimCity, though, SimHealth came and went quickly enough that the debate around it hardly got started. By the time it was released to retail in early 1994, Maxis was already in the process of divesting themselves of their brief-lived Business Simulations division. “The gap between building simulations for entertainment and simulations for businesses was too great,” said an older and wiser Jeff Braun. “One was a product, the other was a service.” The former Maxis Business Simulations would soldier on independently for a while as Thinking Tools before closing up shop for good.
In his (excellent) article on this side quest, Phil Salvador of The Obscuratory states that Maxis sold about 50,000 copies of SimHealth. I find that number extremely surprising, assuming it’s correct — not because it’s so low but because it’s so high. My guess would have been more in the range of 5000 copies — and that’s if I was feeling generous.
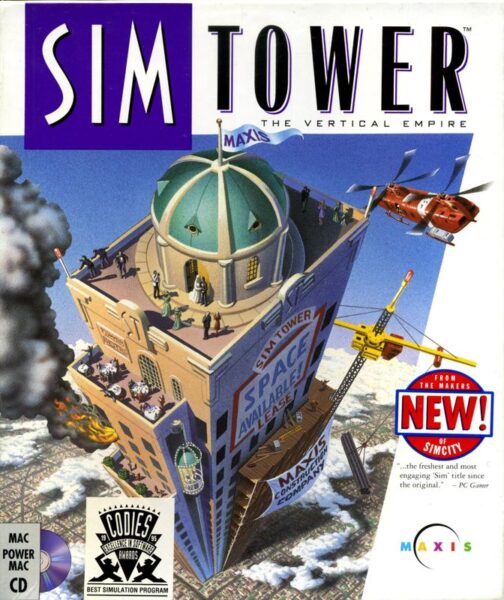
Regardless of the exact numbers that SimHealth did, we can say with confidence that Maxis’s second and last Sim title of 1994 sold far more. SimTower: The Vertical Empire still stands today as the best-remembered Sim game of the 1990s that isn’t a SimCity. That said, this particular apple didn’t fall that far from the SimCity tree. Your task in SimTower as well is that of building a functioning community — but here you’re to do it all inside a single skyscraper. It feels only appropriate that the game was conceived and coded in Japan, where people have long been in the habit of living small and vertically.
Yoot Saito, the mastermind of SimTower, was once memorably described by Jeff Braun as “a rock-star groupie who became a rock star himself.” He fell in love with SimCity not long after its release: “I didn’t leave the Macintosh for almost 24 hours. I so much admired the creator of this genius and crazy software.” He chased Will Wright into a hotel lobby during a MacWorld exhibition like a screaming girl from A Hard Day’s Night. He then proceeded to tell his cornered hero about his idea for a SimCity inside a single building. One thing led to another, and in late 1994 Maxis brought his SimTower to the West.
Your goal in SimTower — and yes, you do have a goal — is to eventually erect a five-star building, meaning one that has at least 100 floors and at least 10,000 more or less happy residents, with a cathedral as the cherry on top of the imposing sundae. How you do this is entirely up to you. Your biggest challenge, the direct equivalent to SimCity’s need for efficient roadways and subways, is your elevator system; get this wrong and your gleaming utopian tower will soon collapse into impatience and discord. As Yoot Saito would be the first to tell you, the rest of the game was really born out of his odd fascination with elevator systems.
Late one night, I was waiting in my building’s lobby for an elevator. There are two cars in my building’s shaft. I pushed the button, but instead of the closest car coming to my floor, the farthest car arrived first. In my usual questioning way, I asked myself, “What happened here? How are these cars logically synchronized?” That was the beginning of SimTower.
Yoot Saito was truly a man after Will Wright’s heart.
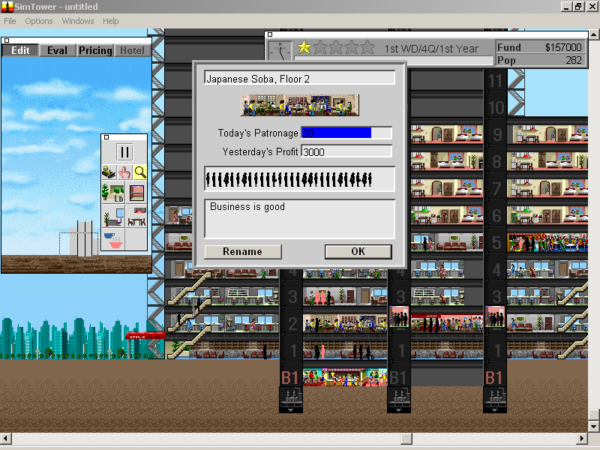
SimTower has many of the cute, juicy touches that lent personality to the Japanese ports of SimCity. Add a restaurant to your tower, and a food critic will stop in to eat and pass judgment. Play the game on Christmas, and Santa Claus will fly overhead. SimTower isn’t as deep or complex as SimCity 2000, but this was probably more of a plus than a minus for the nascent casual-gaming market of the mid-1990s. It became a surprise hit for Maxis, giving them their second holiday season in a row with a new game near the top of the bestseller charts. Suddenly the bottom line was looking pretty darn good.
As a result, Jeff Braun made a fateful decision, one that he would later deem “a big mistake.” He took Maxis public on May 25, 1995. It “was just sort of the thing to do, and it just felt right,” he says. This year would prove the first of the dot.com boom, highlighted by Netscape’s $3 billion public bow in August. Maxis’s own $35 million IPO may have been a vastly more modest affair on the face of it, but the cachet of SimCity and SimTower were enough to get Jeff Braun and Will Wright mentioned in some of the same conversations as Netscape’s dynamic duo of Marc Andreessen and Jim Clark. In December of 1995, Braun showed up alongside Andreeseen in Newsweek’s list of “The Net 50,” despite the fact that Maxis had yet to release a game that connected to the Internet in any sort of way. Newsweek was blissfully unfazed: “Look for Braun to start moving his world of fantastic simulations to the Internet sometime next year.” Maxis took out a lease on the glass-enclosed sixth floor of a glitzy high-rise in Walnut Creek, California.
In addition to the generalized furor over all things tech, the Maxis IPO was fueled by the excitement surrounding educational and edutational software. These categories were widely considered to have a very lucrative future in the offing, as school administrators bought the new generation of multimedia computers and looked for things to do with them in classrooms at the same time that parents were doing the same at home. If Maxis perhaps wasn’t quite of the category, their games’ non-violent nature and engagement with real-world topics placed them solidly adjacent to it. Their new Sim games of 1995 reflected a desire to align themselves still more closely.
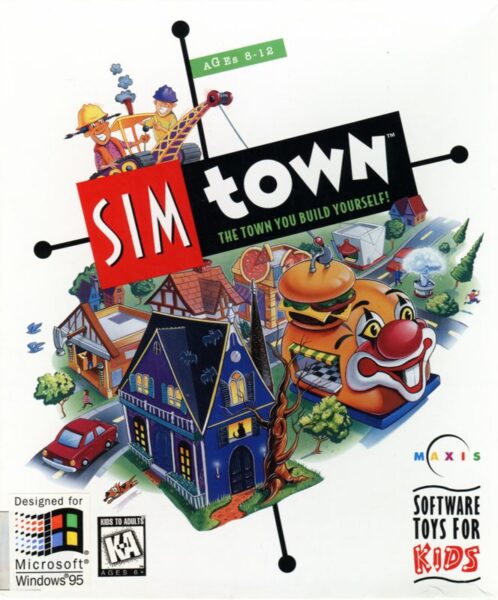
SimTown was a kid-friendly, simplified version of SimCity, wrapped in a bright, cartoony aesthetic. “This town is run by kids!” screamed the back of the box. Unfortunately for Maxis, children tend to require less simplification than many adults think they do, even as they can smell adult condescension from a mile away. SimTown wasn’t a big seller.
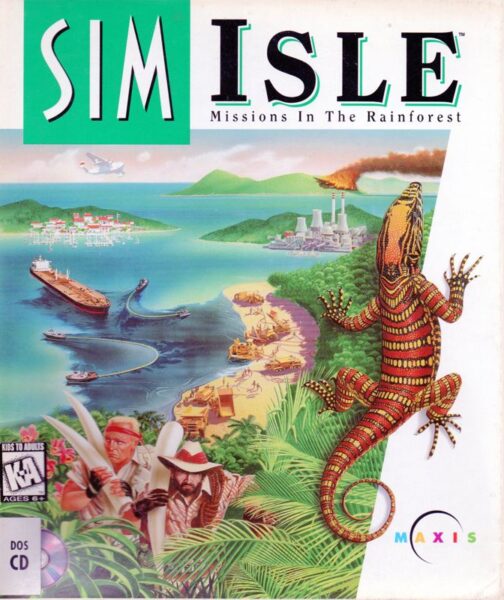
SimIsle: Missions in the Rainforest was a worthier effort with a lot more heart and soul put into it, so much so that I’m prepared to call it the hidden gem in the 1990s Maxis catalog. Developed in collaboration with a British house called Intelligent Games, it plunks you down in a tropical archipelago of 30 islands. But instead of settling for being just another “SimCity except somewhere else,” SimIsle brings some fresh ideas to the table. Each of the islands constitutes a set-piece scenario, complete with a set victory condition and a defined endpoint. As Computer Gaming World wrote in its review, SimIsle has “a lot of good old SimCity charm with a bit more game than is customary in the series.” It replaces the usual Sim abstractions with a distinctive and compelling sense of place, fed by digitized photographs and an evocative soundtrack. At times, it feels less like a Maxis Sim game that it does an early version of Tropico.
Some of the islands are to be developed for tourism, some for resource extraction or industry, some as wildlife preserves. There’s an environmental message to SimIsle, but you’re never beaten over the head with it in that way that can make some other Maxis games feel so simultaneously noble and dull. “If you want to explore what happens when you tarmac an entire island, that’s your affair,” said lead designer Matthew Stibbe. “Alternatively, you can see if it is possible to marry economic growth, with all its benefits, to ecological safety.” The game succeeds in making you want to preserve and conserve as much as possible, by making its archipelago an interesting and even exciting place to explore. Finding a new species of flora or fauna or an unsuspected ancient ruin is a genuine thrill. Destroying such things can be devastating, but sometimes you feel like you have no choice if you want to satisfy a scenario’s goals. You often have to settle for preserving what you can. These agonizing tradeoffs convey a different sort of realism than most Maxis games, showing the world to be a messy place where exploitation and conservation are less binary choices than a precarious balancing act.
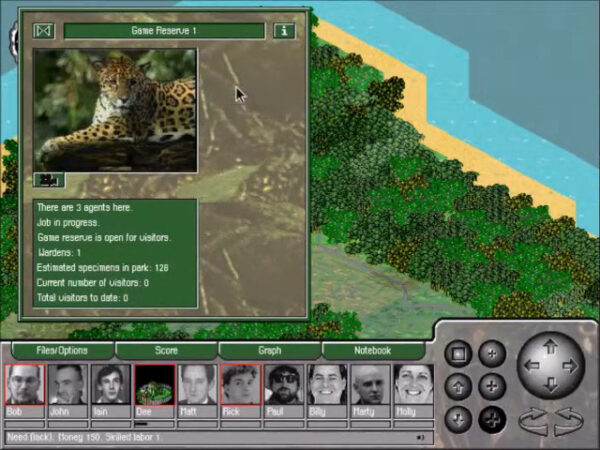
In keeping with this Sim game being not only about nature, science, and other such abstract forces, it features, for the first time ever — outside of the SNES SimCity, that is — individual people. You can accomplish things on your island only by directing “agents,” each with a picture, a capsule biography, a personality profile, and a unique set of skills and abilities, from “flora and forestry” to “construction,” “negotiation” to “local ecology.” You can even find agents with underworld connections, if that’s your bag; setting up a drug trade is a possibility for the unscrupulous player. Your agents can improve their skills with experience and training, further tightening the bond between you and them. The lack of just such a personal touch is one of the reasons that most Maxis Sim games leave this player feeling kind of cold. Everybody is different, of course, but I have to say that SimIsle is the direction that I wish Maxis had begun to take much earlier and had stuck to thereafter.

The agents system of SimIsle smacks oddly of Sir-tech’s cult classic Jagged Alliance, which came out the very same year.
Indeed, the places where SimIsle disappoints me most are the ones where it misses opportunities to take its freshly “game-like” approach still further. The archipelago itself positively begs for a larger campaign to structure your play. As it is, though, SimIsle maintains no memory of what you’ve done before as you go from island to island; nor can you take the same team of agents with you. But this failing isn’t enough to keep it from becoming my personal favorite Maxis game. I first played it shortly after its release, played it again more briefly for this article, and really wish I had the time to play it some more. I highly recommend it to anyone who is left a little cold by the rest of Maxis’s catalog for any or all of the same reasons that I am.
Sadly, SimIsle was not rewarded for its uniqueness. It was no more commercially successful than SimTown, being written off by most gamers as just more of the same, from a publisher that had become rather too much of a known quantity. From the perspective of the marketplace, the bloom had come off the Sim rose just as the post-IPO firm was supposed to be taking flight.
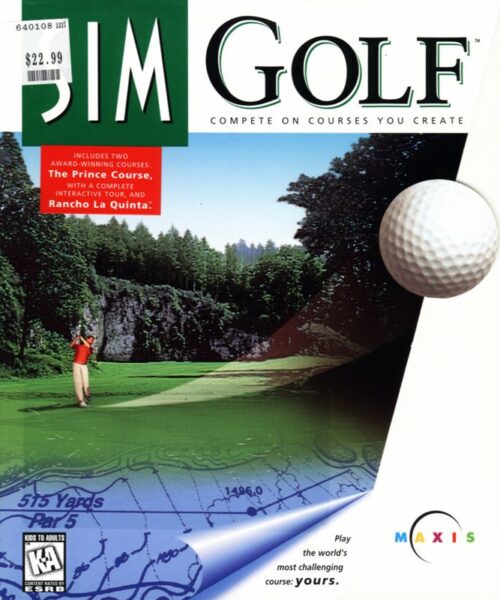
SimGolf wasn’t a bad effort as golf simulations went, but it never had a prayer against the Links juggernaut.
So, by 1996, the Sim line was flailing, casting about for the right combination of familiarity and freshness that could make it feel relevant again. There were no fewer than five new Sim-branded games that year, and they were well and truly all over the place. SimPark was a simulation of a wildlife park, but with the kid-friendly branding and simplifications that had made their dubious debut in SimTown. SimTunes was a visual music-making system that could have been released under any of a dozen educational-software imprints. And SimGolf was nothing more nor less than a straightforward golf simulator, dumped onto a market that was already full to bursting with the things. One of the most distinctive brands in the industry just a couple of years earlier, the Sim line was now being diluted to the point of meaninglessness. Was it for adults or children? Was it games or educational software? Was it products in the mold of SimCity or just anything upon which you could conceivably slap the label of “simulation?” Maxis seemed to want the answer to all of these questions to be “Yes,” full stop. The result was just confusion.
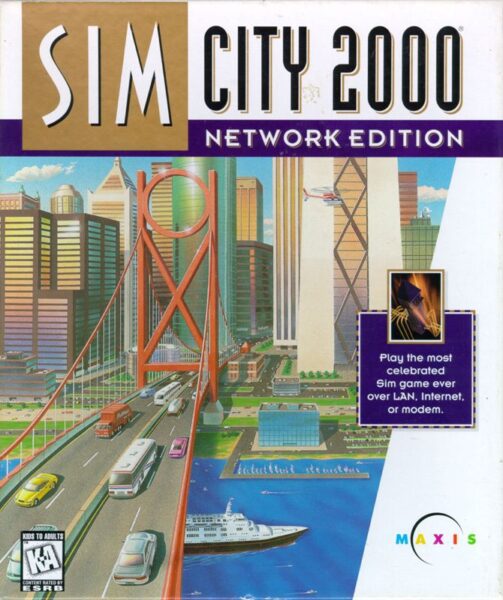
Even the stuff that ought to have been in their wheelhouse didn’t quite pan out. SimCity 2000: Network Edition added online-multiplayer functionality to the venerable city-builder; rumors of this product were presumably the reason that Newsweek had buzzed about Jeff Braun “moving his world of fantastic simulations to the Internet.” But the sales of the finished product weren’t anything like Maxis had hoped. This may have been because they did nothing to update the graphics or interface, leaving the Network Edition looking like exactly the three-year-old game it otherwise was. But more likely, it was down to the questionable value proposition of a multiplayer SimCity. How was such a thing supposed to work, given that competition was so conspicuously absent from the franchise’s DNA? Maxis’s approach was to let you divide a city into different zones, then place one person in charge of each of them, to compete or cooperate as they chose. It felt more forced than exciting.
You may have noticed that the name of Will Wright has appeared in this article much less than it did in the one before it. There’s a reason for that: after completing (the non-networked) SimCity 2000, he had stepped back from day-to-day game development to work on various “research projects.” One of these tried to make a reality out of the idea he had presented at the 1990 Game Developers Conference, for a new ecosystem of interoperable games. He was no longer so bold — or naïve? — as to imagine the entire industry joining him in this effort right away, but he did think it could be a very good thing for Maxis games at least to learn to talk to other Maxis games, as summarized in Game Developer magazine:
Most Maxis games occupied some of the same intellectual real estate, which made them natural candidates to extend into each other. For example, one of the central strategies a player can use in SimCity is to develop a mass-transit system to help the city grow. In A-Train, a game Maxis imported from the Japanese company Artdink, the goal is to help a community expand using a commuter rail line. In the same vein, the monster towers of the future in SimCity 2000 are similar in nature to those players build in another Japanese game imported by Maxis, SimTower.
Thus the SimWorld project was born. The goal of this project was twofold. It would allow Maxis to create future games with the capability to extend and merge into other preexisting and future games. And it would leverage SimCity and the millions of hours of playtime that people have invested in SimCity saved games into new markets.
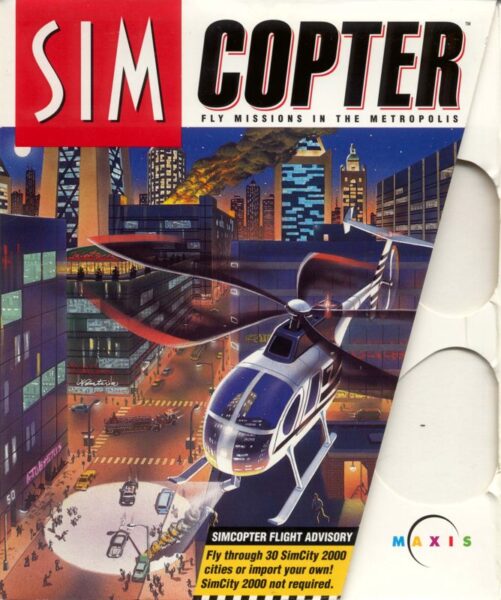
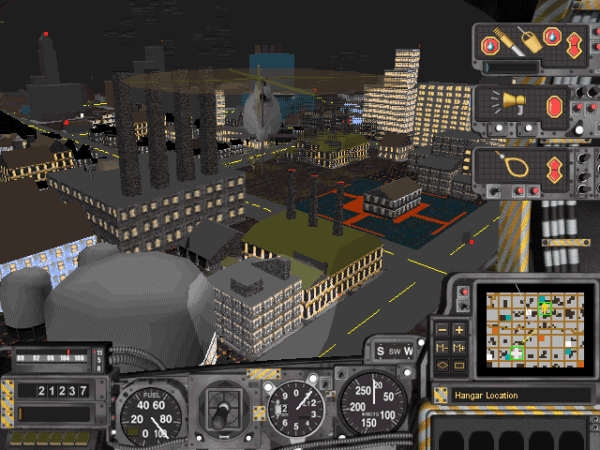
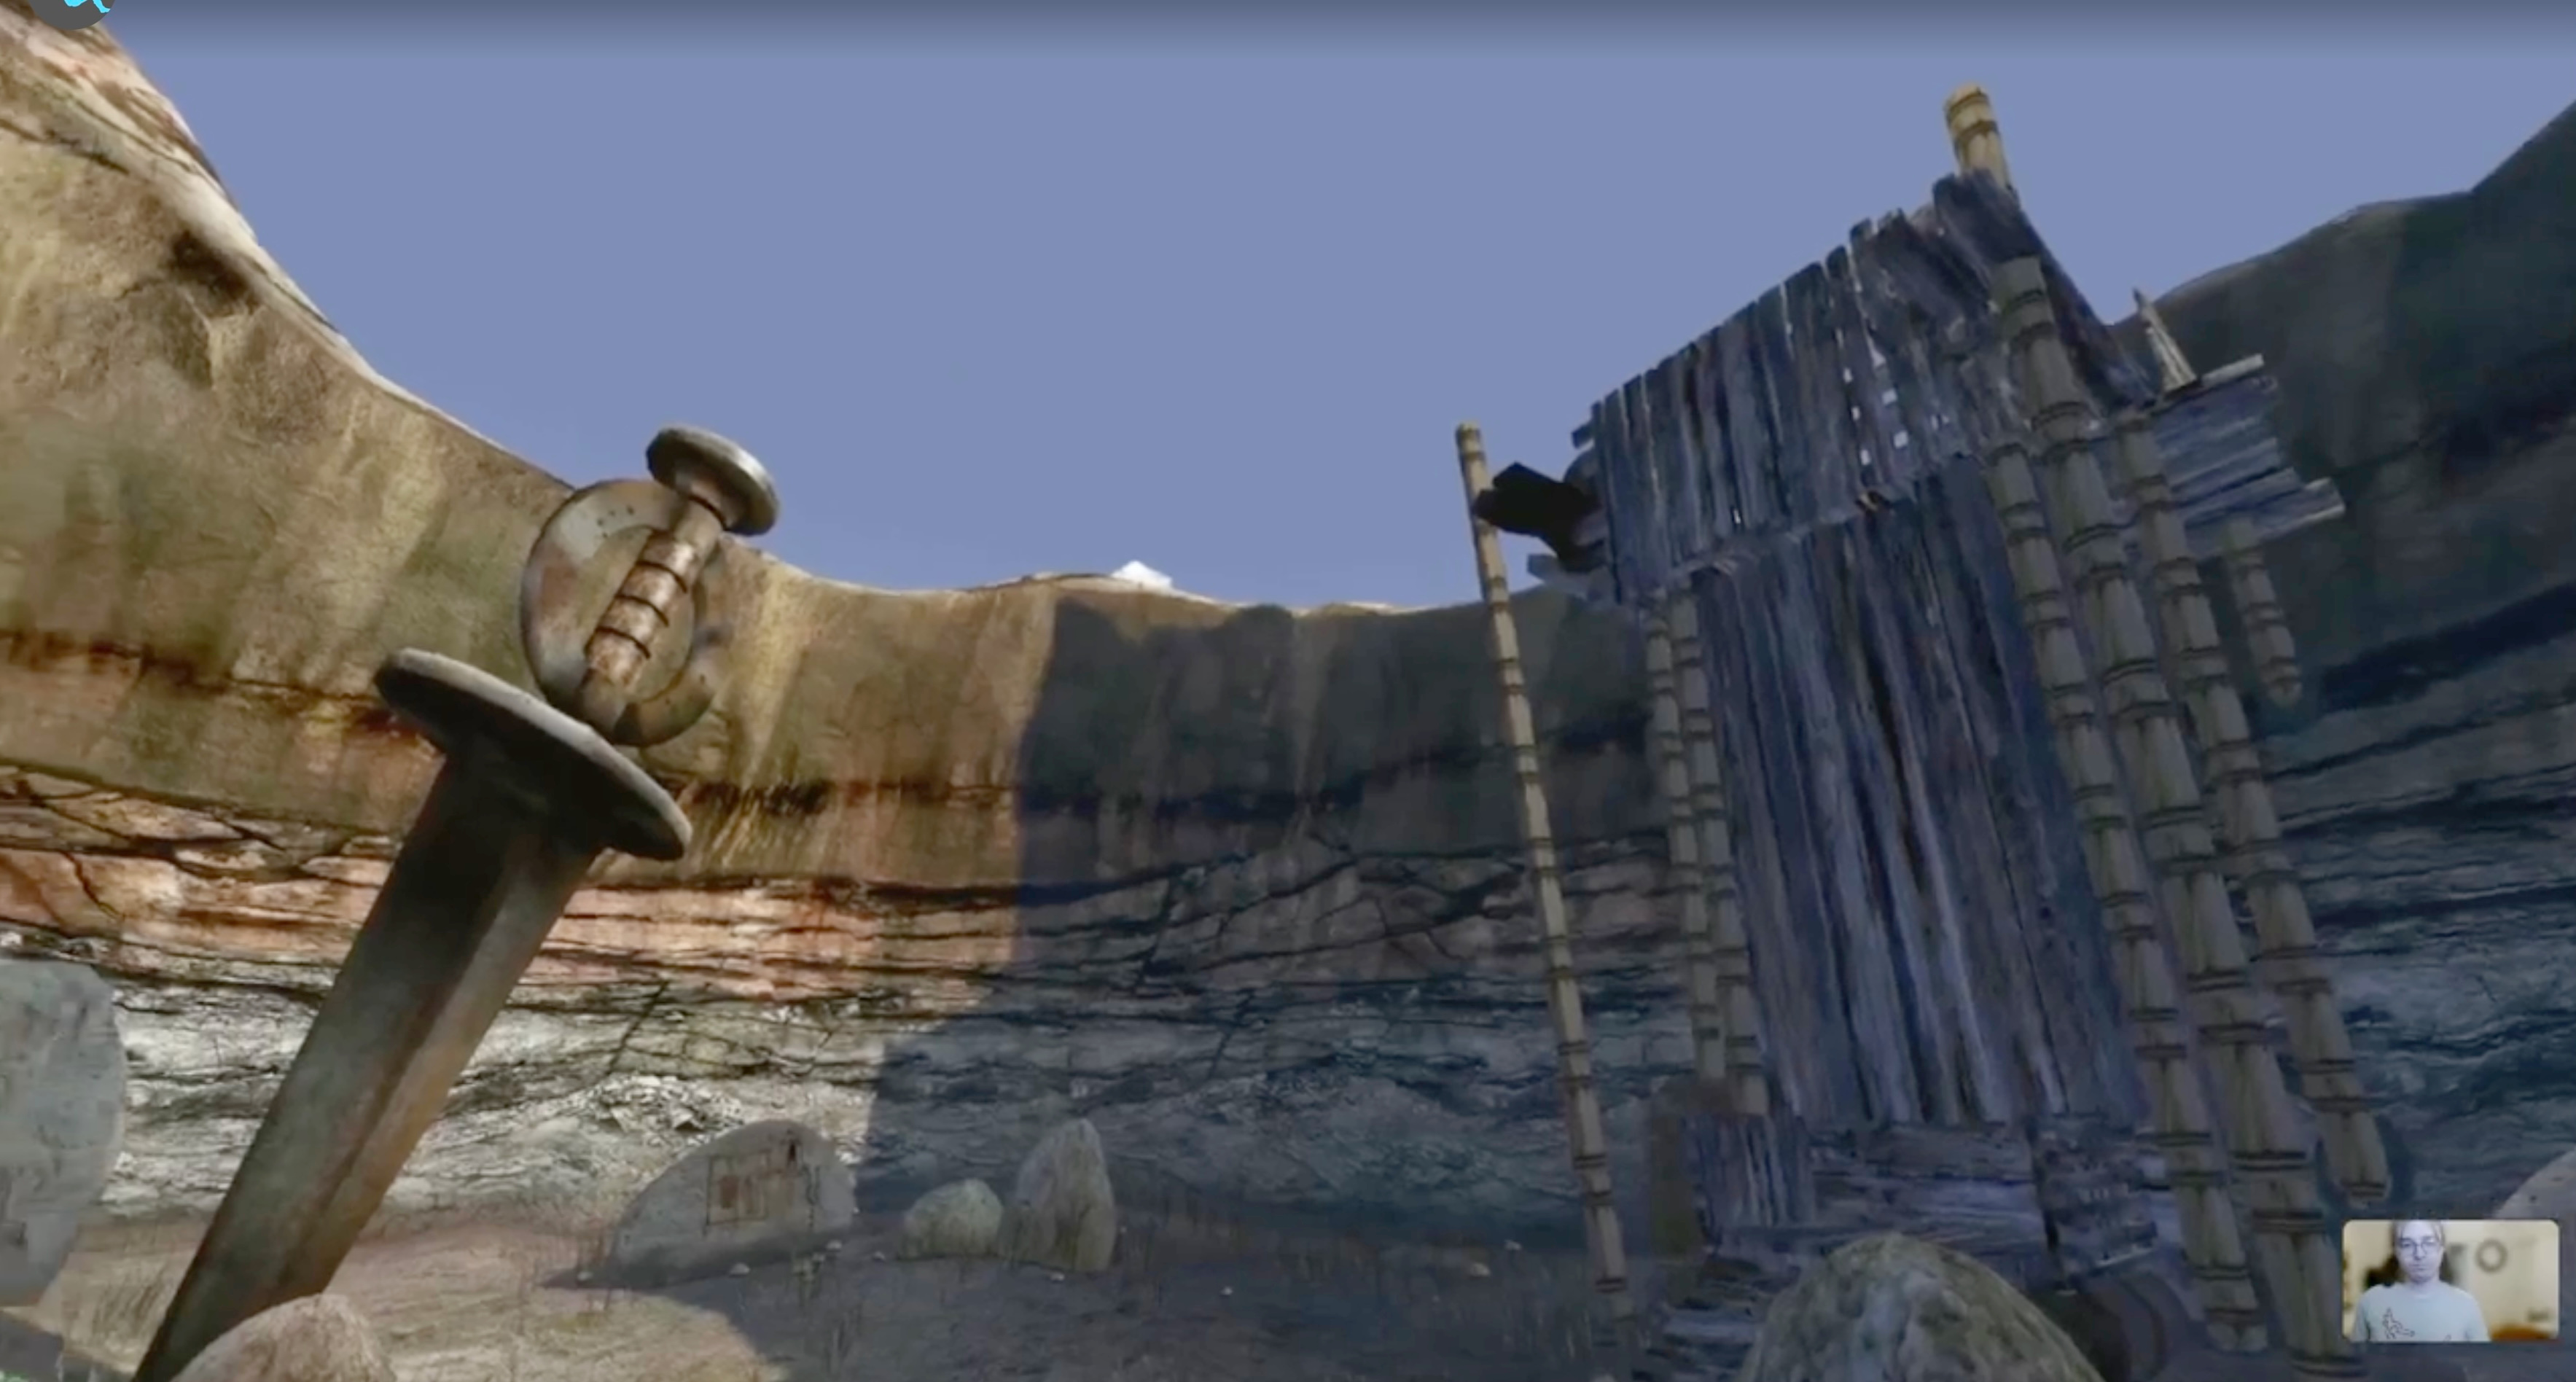
The most intriguing Sim title of 1996 was also the first concrete manifestation of all this. SimCopter was a helicopter simulator, marking the brand’s first foray into first-person vehicular simulators of any sort and Maxis’s first foray into 3D graphics. But this was a helicopter simulator with a difference. You could take a city you’d built in SimCity 2000, load it into SimCopter, and fly around looking at your handiwork close-up. No one could say it wasn’t a cool gimmick.
SimCopter did have other things to enjoy as well once you got past the gimmick. The flight simulator itself was pleasantly forgiving, making it stand out in a genre that usually wanted to make games only for the hardcore of the hardcore. Best of all, SimCopter took a lesson from SimIsle in structuring the time you spent with it more than did your typical Maxis game. If you play in “career” mode, you take the role of an urban helicopter pilot tasked with putting out fires — mostly figuratively, occasionally literally. In addition to extinguishing the literal conflagrations, your assignments can involve traffic jams, rooftop rescues, crowd control, police chases, medical evacuations, and VIP taxi flights. If you do well, you earn money and points and advance to better helicopters, bigger cities, and more difficult (and profitable) missions.
It’s surprisingly engaging, although it can leave you wanting more in the longer term. The reality that there are less than ten types of mission in all, procedurally generated over and over, sets in well before the campaign is over. “We could not miss Christmas, which meant we really couldn’t aim too high,” admits Will Wright. “Had we had another six to eight months to work on it, I think it would have turned out much, much better.” (How many times has a game developer said this?)
Immediately after its release, SimCopter and Maxis were embroiled in an unwelcome but kind of hilarious controversy, when it was discovered that the virtual citizens over whom the helicopter flew included crowds of strapping young men in Speedos who enjoyed kissing one another. The source of the transgression proved to be a gay Maxis artist named Jacques Servin, who wished to make a statement about the “aggressive heterosexuality” of game culture: “I’ve always wanted to be an activist, but activism is so moribund now. Do you think these heads of corporations are going to walk into an art gallery and say, ‘Oh, wow, I was wrong?’ Symbols are so much more powerful where you don’t expect them.” Servin was fired by Maxis after his handiwork hit the press — not, the company was careful to say, for being gay, but for inserting unapproved content into its game. Nonetheless, a brouhaha with the gay advocacy group ACT UP followed, despite Servin’s own statement that his former employer was actually “very enlightened” about sexual orientation. This was publicity that Maxis emphatically didn’t need, managing to cast them in an unfavorable light with the accepting and the bigoted alike. It became one more data point to contribute to the growing impression of a company for which absolutely nothing was going right anymore.
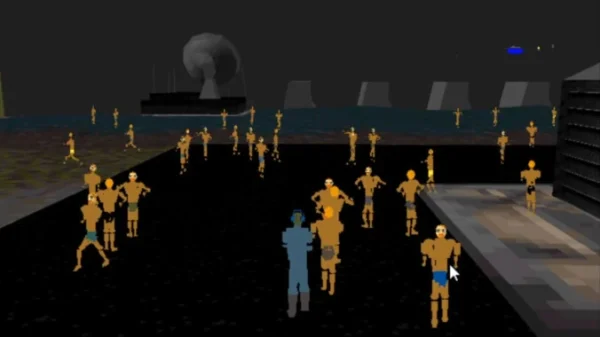
I never saw any men in Speedos during my time with SimCopter; Maxis patched them out of the game just as quickly as they could. But never fear, the Internet preserves all.
Just eighteen months after the IPO, Maxis was looking like a hot mess. From a high of $50, the stock price was down to barely $10. None of their Sim games since SimTower had done very well, nor any of the grab bag of non-Sim oddities they had published on behalf of other studios. Meanwhile the excitement over educational software that had done so much to fuel the IPO was starting to look misplaced, for the same reason that the buzz over non-game multimedia CD-ROMs was fizzling out: the World Wide Web was eating those offline software markets alive.
Development had begun on a new SimCity, traditionally the company’s savior, but that wasn’t going well either, having gotten bogged down in a bid to make the game fully 3D. A free-floating 3D camera, noted Will Wright,
takes what used to be a very simple, Lego-like thing and turns it into AutoCAD. “What am I looking at? Oh, I see, I’m facing the building two inches away.” It becomes that kind of experience. So that was part of it. The other part was the technology. Without going with really severe restrictions on what you could build, we just couldn’t have a decent frame rate and have the level of detail that we could have in an isometric viewpoint.
Both of these issues were exaggerated by the need to cater to the casual players who made up so much of the SimCity base, who were neither comfortable with the latest generation of 3D games nor had computers that were up to running them all that well.
Maxis’s investors pronounced themselves “concerned” by the direction of the company, which was on track to lose more than $2 million in 1996. What revenues there were were mostly still being generated by SimCity 2000, now a steady-selling staple of the world’s budget bins. But even that wouldn’t last forever.
Jeff Braun was forced out of the company he had co-founded by his own board of directors in August of 1996. His replacement in the CEO’s chair was one Sam Poole, a former Disney executive who had joined up as sales manager at the time of the IPO. His marching orders from the board were clear: find a buyer before the ship of Maxis went under.
In June of 1997, Electronic Arts stepped up. No cash changed hands, only stock, worth $125 million on paper. “I entered the deal with a lot of trepidation,” says Will Wright. “I knew there were going to be layoffs, but not doing the deal would have meant even more layoffs down the road.” For its part, EA made it clear that it was buying Maxis for just one reason: to get its hands on the SimCity brand, the one item in the Maxis portfolio that it considered to be worth anything at all. Whatever was left of the old dream of SimEverything died the moment the contract was signed. As far as EA was concerned, Maxis was a one-product studio.
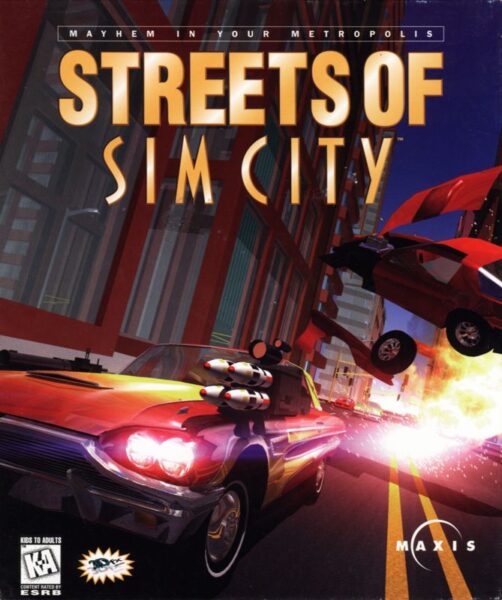
The last couple of shambling embodiments of the old spirit, in the form of products that had been a little too far along in the pipeline to cancel, came out in the months just after the acquisition. Streets of SimCity operated on the same principle as SimCopter, letting you drive instead of fly around your handmade city. But for some reason — one has to suspect the intervention of someone at EA, looking jealously at Activision’s hit Interstate ’76 — your car had guns to shoot the other cars on the road with. The whole thing was as ineptly implemented as it was abjectly tone-deaf. Had EA actually understood the brand it was buying? You know, the one that was always described as not being violent in the way of all those other videogames?
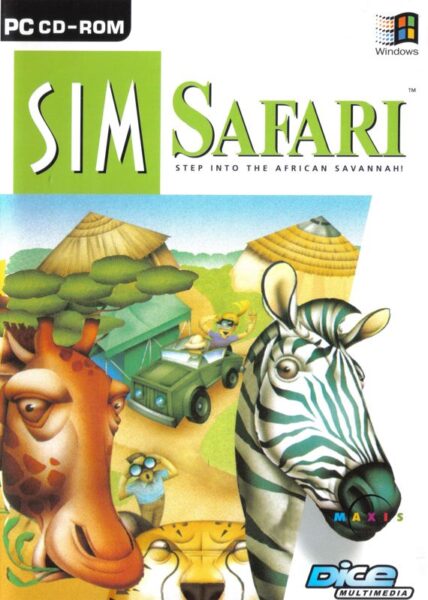
SimSafari was more defensible, if not ultimately all that much more compelling. It was another game in the mold of SimTown and SimPark, a “kid-friendly,” simplified version of the SimCity approach. But one might be excused for asking how big a difference there really was between building a “wildlife” park, as in SimPark, and a “safari” park, as in SimSafari.
Meanwhile back at the Maxis ranch, major if fairly predictable changes were afoot. Relieving Sam Poole of his duties, EA parachuted in a manager named Luc Barthelet to fix whatever ailed its acquisition and to get that all-important third SimCity back on track. In a report back to the mother ship that surprised absolutely no one, Barthelet bemoaned a lack of “focus” and “structure.” He set out to re-instill these qualities. “I told people from day one: we are going to be a PC studio that does top-ten products, and if we did that we’d stay in business,” he says. “A lot of people weren’t interested in this. They wanted to do their own little projects, and didn’t care if they would sell. Those people left.”
Barthelet may not have been an overly cuddly or sentimental sort, but his tough love was probably just what the moribund next-generation SimCity needed. He could see no reason why that game needed to be 3D. Stop screwing around, go back to the tried-and-true isometric view, and just get it done, he said. Ocean Quigly, the project’s art director, compares his early days on it to “running through the fog not knowing where we were going.” The fog was now lifted and a compass provided.
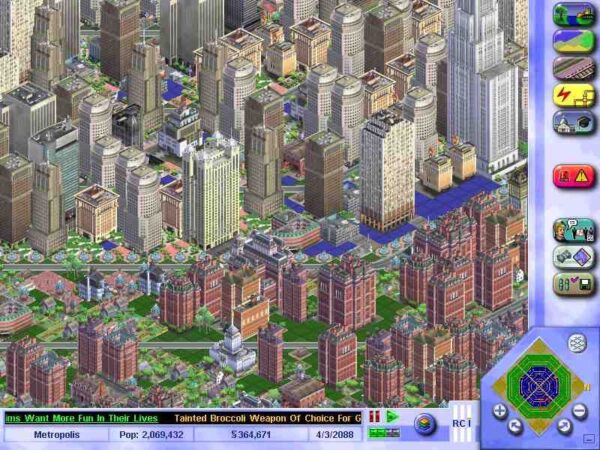
SimCity 3000 would prove another picture-perfect sequel. By some metrics, it expanded dramatically on its predecessor, with the possibility to construct 400 instead of just 100 different types of buildings in a city up to four times as big, all with sharper graphics and a cleaner interface. But it was still the SimCity that its fans and the media knew and loved, exuding a “don’t fix what isn’t broke” philosophy from its every pixel. The additions were largely commonsensical and cosmetic. The larger selection of buildings let you give your city a distinctive American or European aesthetic; the likes of the Statue of Liberty and the Eiffel Tower were waiting for you right there in the menu. Borrowing a page from Civilization II, a franchise it had partially inspired (have I mentioned that game design is always a dialog?), SimCity 3000 had a panel of municipal department heads to offer their advice to mayors who happened to be in doubt. (Also like in Civilization II, some of their advice was wise, some of it self-servingly parochial.) The biggest conceptual leap was to turn your city from an isolated specimen under glass into a part of a larger nation, complete with other towns with which you could trade electricity, water, or sewage services and enter into other sorts of business arrangements. There was still no structure beyond abstract building for its own sake, no campaign or thread of narrative, placing it at odds with some other city-builders, such as the historical ones made by Impressions Games. That said, a substantial percentage of SimCity players probably wouldn’t want it any other way. This SimCity product was as in harmony with its brand as Streets of SimCity had been off-key.
Maxis learned some of the advantages of hooking up with a deeper-pocketed parent when the time came to demonstrate the game publicly for the first time at the 1998 E3 trade show: EA flew former New York City Mayor Ed Koch in to promote SimCity 3000 in person. Sure, as a spokesman Koch was better primed to entice the mainstream media than the E3 gamer crowd — but then, that was kind of the point, wasn’t it? EA knew well where its SimCity bread would be buttered.
The original targeted release date was the Christmas of 1998, but Maxis couldn’t quite get it done to their satisfaction. Rather than let this make-or-break game out in a less than ideal state, Luc Barthelet convinced the EA brass to let them hold onto it a few months more. SimCity 3000 finally shipped in February of 1999, whereupon it became clear that the franchise’s winning streak would continue, as it became Maxis’s first really successful game since SimTower four and a half years earlier. In fact, it became the best-selling single computer game of 1999. (Admittedly, its release date so early in the year did give it a longer runway than almost all of the competition.) Luc Barthelet had his top-ten game and then some; the old SimCity magic of mixing casual with hardcore appeal still worked. This was a game that your Starcraft-playing buddies could enjoy as much as your middle-aged dad. By the end of 1999, Maxis could boast of having sold more than 7 million copies of its three SimCity games over the past decade. In comparison to this figure, the sales of all of their other games combined constituted little more than a rounding error.
There was one thing that did separate SimCity 3000 from its two predecessors: Will Wright contributed practically nothing to it. “It was a running joke around Maxis that whenever the SimCity team would come to ask me for advice I would go running,” he says. “They finally gave up. You know, the day they shipped SimCity 3000 was one of the happiest days of my life. They proved that we have a team within Maxis that knows how to build a SimCity without my involvement.”
Yet Will Wright was still employed at Maxis. So, just what was he doing, wondered plenty of people at the time. The answer to that question would soon turn the games industry on its head, making all of SimCity’s success look like the merest prelude to this, the mad scientist’s main act.
Did you enjoy this article? If so, please think about pitching in to help me make many more like it. You can pledge any amount you like.

Sources: The books Games That Sell! by Mark H. Walker; Building SimCity: How to Put the World in a Machine by Chaim Gingold; Game Design Theory & Practice (2nd ed.) by Richard Rouse III; SimIsle: The Official Strategy Guide by Douglas R. Brumley, Phil Powell, and Selby Bateman; The Secret History of Mac Gaming (expanded edition) by Richard Moss. Computer Gaming World of June 1994, April 1995, December 1995, March 1997, and May 1999; Retro Gamer 115; The American Prospect of March/April 1994 and March/April 1997.
Online sources include the collection of Maxis articles by Phil Salvador at The Obscuratory, Tristan Donovan’s interview with Will Wright for the old Gamasutra site, and “SIMply Divine: The Story of Maxis Software” by Geoff Keighley for GameSpot.
Where to Get Them: Of the Maxis games described in this article, only SimCity 3000 is currently available as a digital purchase.


 If you know Chinese: just hold off. I'll get there.


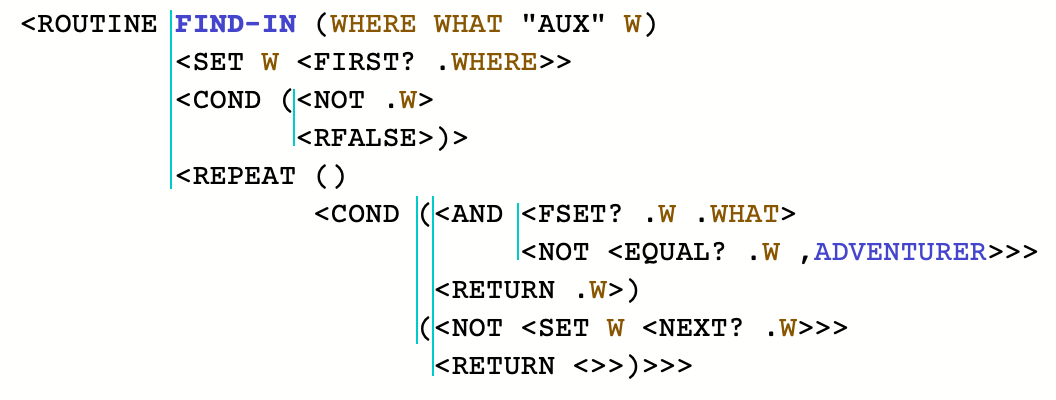 The same function showing alignment guides.
 The
The 


FrontCover.jpg)